Kaleidoscope


Right click on the above picture and save to your hard drive. For this tutorial you will also need Visman Filters. If you don't have them you can download them Here.

Open the image in Paint Shop Pro and Ctrl D twice. Now you have 2 copies of the picture. Close the original, and minimize one of the copies.

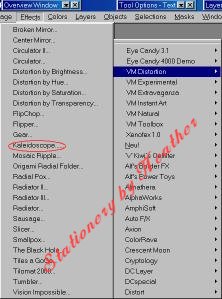
Now go to Effects|Plugins and locate VM Distortion|Kaleidascope.

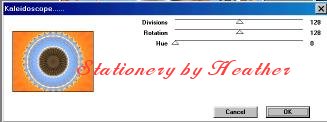
Leave settings as they are. (128 128 0) Apply the filter, and your graphic should look like this.

Go to Layers|Promote to layer.
With Magic Wand set as shown, click on the blue area near the center, and then press Delete on the keyboard.

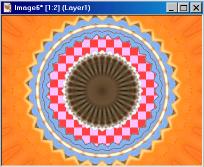
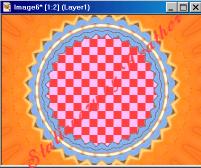
Now use the eraser to remove the brown center. Your graphic should now look like this.

Now bring up the image you minimized. Edit|Copy Go back to the image you were working on and using the magic wand click in the center of the image then Edit|Paste|Into Selection.Then Selections|Select None.

Now you can resize to desired size.Save your image. Use in stationery as a scrolling side border, buttonize or add to a background strip. Try different settings with the filter. Magic wand settings depend on the color. On this picture there were many shades of blue so tolerance needed to be higher. If a solid color tolerance would be as low as 0.


Tutorials

Home