|
|
|
Open a new canvas width 350 height 450 background transparent.
Go to Layers|New Raster Layer and click OK
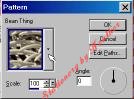
Now go to Mask|Load From Disk and locate the vase2.msk
 |
You won't see any changes yet.
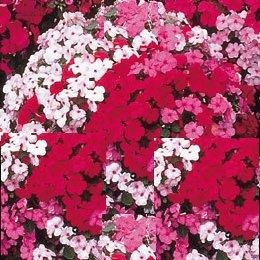
Be sure your transparent graphic is highlighted and flood fill with the floral. |
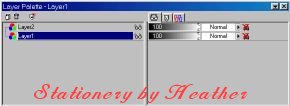
Now go to LAYERS|MERGE
Go back to the Layers Palette, right click on "Background"
and Promote to Layer
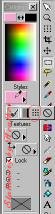
Click on Magic Wand. Click on black.
Hold down the shift key and click on any black section
that does not have the "marching ants"
On the keyboard, press the Delete key.
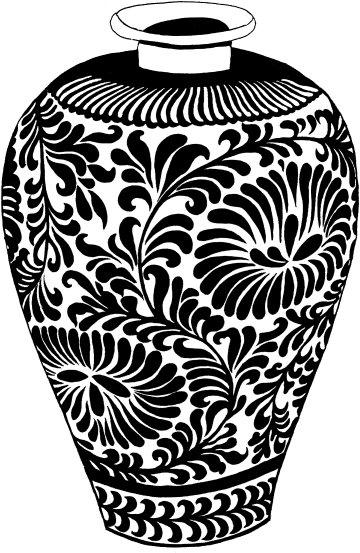
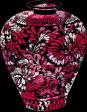
Resize to suit your needs> (I resized 50%) Your vase is now ready to use.
I put it on a background and with Eye Candy, added a Perspective drop shadow.
(Images reduced in size)